
You’ve finished tracking. The ideas are captured. But your song plays back flat, lifeless, and amateurish compared to your favorite tracks on Spotify. The difference isn’t magic—it’s the final, crucial stages of production. This mixing and mastering guide is your roadmap to bridging that gap.
For countless producers, the journey from a great song idea to a professional, radio-ready record is shrouded in mystery. Mixing and mastering seem like dark arts practiced by wizards in expensive studios. But the truth is, they are learnable, repeatable processes. Whether you’re mixing a trap beat or mastering a singer-songwriter ballad, the core principles remain the same. This comprehensive guide will demystify these final stages, providing you with a proven, 10-step system to achieve polished, competitive sound from your own home studio. Get ready to transform your tracks.
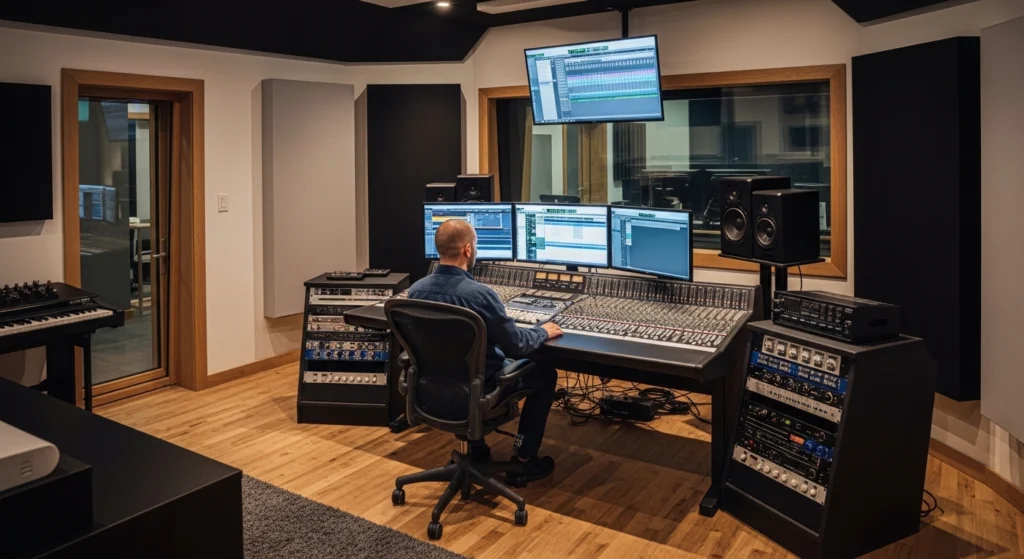
1. Setting Up for Success: Your Mixing Environment
Before you touch a single fader, you must ensure you can trust your ears. Your listening environment—your room and your monitors—is the most important tool in your mixing arsenal. If your room has severe bass buildup or your monitors hype certain frequencies, you’ll make mixing decisions based on a lie. Your mix might sound good in your studio, but fall apart everywhere else.
Treat Your Room, Not Just Your Gear
You don’t need a multi-million dollar facility, but you do need to address basic acoustics. The biggest enemy is reflected sound interfering with what you hear directly from your monitors. Start with bass traps in the corners of your room to control low-end buildup. Add broadband absorbers at the first reflection points on your side walls (the spots where you’d see your speakers if you held a mirror up to the wall). This cleans up the stereo image and frequency balance. For an authoritative deep dive, check out these acoustic treatment basics from Sound On Sound.
The Importance of Monitor Placement
Your monitors (speakers) and your listening position should form an equilateral triangle. Point the speakers directly at your ears (or slightly angled). Ensure your ears are at the same height as the tweeters. This ensures you’re hearing a balanced stereo field. A suboptimal setup will lead to poor translation—meaning your mix won’t sound right on other systems.
2. Mixing and Mastering Guide: The Golden Rules of Level Balancing
The foundation of any great mix is simply balancing the levels of your tracks. Before any EQ, compression, or effects, you should be able to create a rough mix with just the faders that already sounds pleasing. This is the bedrock.
Start with the Most Important Element
What is the core of your song? In most pop, hip-hop, and rock, it’s the vocal. In EDM or trap, it might be the kick and bass. Bring up your most important element to a good, strong level. Then, build the rest of the mix around it. The kick should sit nicely under the vocal, the snare should cut through, and the pads should sit in the background. If you’ve recorded well, this “fader mix” should already be 70% of the way there.
Reference Tracks are Your Best Friend
You cannot mix in a vacuum. Your brain will adapt to any sound after a few minutes. Import a professionally mixed and mastered track in your genre into your DAW session. Set its volume so it’s roughly as loud as your mix. A/B constantly. How does your low-end compare? Is your vocal as clear? Is the overall width similar? This objective comparison is invaluable for making corrective decisions.
3. Mixing and Mastering Guide: Gain Staging for a Pristine Mix
This is often overlooked by beginners, but it’s the secret to a clean, headroom-rich mix. Gain staging simply means managing the signal levels at every point in your signal chain—from the raw recorded track, through each plugin, to the fader.
Why Clean Headroom Matters
If a signal is too hot (close to 0dB) when it hits a plugin, especially an analog-modelled one, it can distort in an unpleasant, digital way. It also eats up all your headroom, making your master bus constantly push against 0dB, leaving you no room for your mix bus processing later. The goal is to have plenty of dynamic range.
The Gain Staging Workflow
Start by ensuring all your raw tracks are peaking around -18dBFS or lower. This is the “sweet spot” for many analog-modelled plugins. As you add EQ and compression, use the plugin’s output gain to make sure the level coming out is roughly the same as the level going in. You want the sound of the processing, not a massive volume jump. This keeps your mix balanced and clean. For a deeper look at this critical concept, read a detailed breakdown of gain staging from the experts at Mastering The Mix.
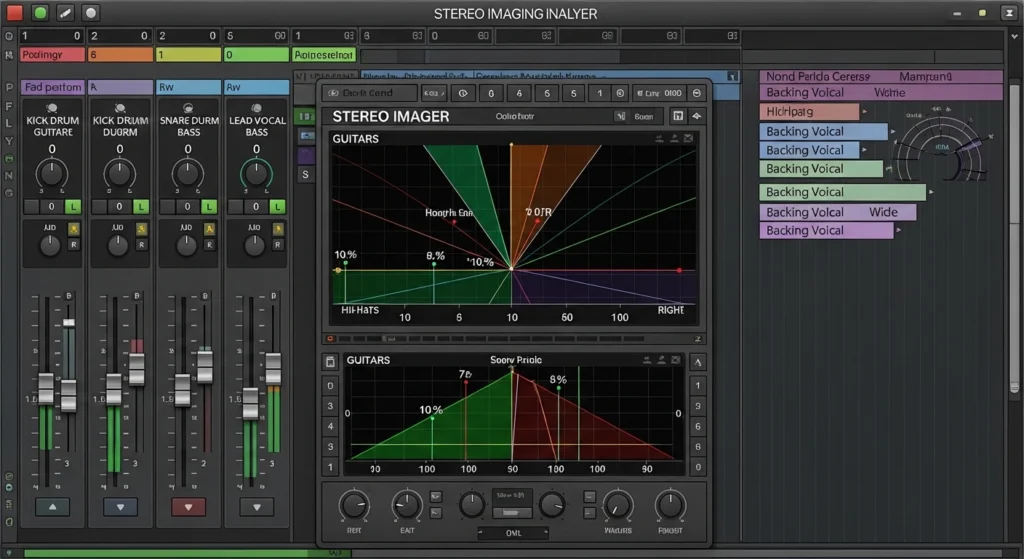
4. Mixing and Mastering Guide: The Art of Panning
Panning is your primary tool for creating a wide, immersive stereo image and clearing up space in the center of your mix for important elements like the kick, snare, bass, and lead vocal. A mono mix is cluttered; a well-panned mix breathes.
The Standard Panning Framework
While rules are made to be broken, a great starting point is this:
- Center (0): Kick, Snare, Bass, Lead Vocal
- Hard Left/Right (-100 / +100): Overheads (drums), doubled rhythm guitars, wide synth pads
- Somewhere in Between (-30 to -60 / +30 to +60): Hi-hats, percussion, backing vocals, other melodic elements
Using Panning for Clarity
If you have two competing guitar parts, pan them opposite each other. If backing vocals are cluttering the lead, spread them wide. This separation gives each element its own “lane” in the stereo field, making the overall mix clearer and more detailed.
5. Mixing and Mastering Guide: Shaping Your Sound with EQ
Equalization (EQ) is the process of cutting or boosting frequencies to shape the tonal balance of each track. The goal is twofold: to make each instrument sound great on its own, and to carve out space so they all fit together without fighting.
The Subtractive EQ Mindset
The most common beginner mistake is to boost frequencies to make something “better.” A more effective approach is to first cut frequencies that are problematic. Is your vocal muddy? Cut around 300-500Hz. Is your snare boxy? Cut around 400-600Hz. Does your guitar sound honky? Cut around 1kHz. By removing the bad stuff, the good stuff naturally shines through.
Carving Space with EQ
This is where the “mixing” magic happens. You want your kick and bass to share the low end without clashing. Find the fundamental frequency of your kick (e.g., 60Hz) and give it a small boost. Find the fundamental of your bass (e.g., 100Hz) and give it a small boost, but subtly cut that same 100Hz region on the kick. This is called “complimentary EQ.” They each own their own space. For a masterclass on the topic, explore iZotope’s 10 essential EQ tips.
6. Mixing and Mastering Guide: The Dynamics Trio
Dynamics processors control the volume of your audio over time. They are essential for taming wild performances, gluing elements together, and adding punch and sustain.
Compression: Taming Peaks and Adding Sustain
A compressor automatically turns down the volume when the signal gets too loud. You set a Threshold (the level where it kicks in), a Ratio (how much it turns it down), and how fast it reacts (Attack and Release).
- On vocals: Use a medium attack and release to smooth out the performance and make it sit consistently in the mix.
- On drums: Use a fast attack to tame the initial transient for a tighter sound, or a slow attack to let the transient through for more punch.
- On the mix bus: Use a very low ratio (1.5:1 – 2:1) with a slow attack and release to gently “glue” the mix together. If you’re new to this, Universal Audio’s guide to audio compression basics is a fantastic resource.
Limiting: The Safety Net
A limiter is essentially a very high-ratio compressor (20:1 or more) designed to catch stray peaks and prevent clipping (digital distortion). You should place a limiter on your master bus while mixing set to catch only the occasional peak (e.g., -1dB or -2dB). This gives you a safety net and lets you mix louder without fear of digital overs.
7. Mixing and Mastering Guide: Mastering Essentials
Once your mix is balanced, dynamic, and exciting, it’s time for the final step: mastering. Think of mastering as the quality control and final polish that prepares your song for distribution. The goal is to make your track sound cohesive, competitive in loudness, and optimal on all playback systems.
What Mastering Actually Does
A mastering engineer is an objective, fresh pair of ears with a tuned environment and high-end processing. They don’t re-mix the song; they add the final sheen. This involves subtle EQ to balance the overall frequency spectrum, gentle compression to tighten the dynamics, stereo enhancement to widen the sound, and finally, limiting to achieve a competitive loudness level without distortion. A crucial part of modern mastering is understanding mastering for streaming platforms guidelines to avoid your track being turned down by services like Spotify.
8. Mixing and Mastering Guide: Limiting and EQ
While a dedicated mastering engineer uses specialized (and often expensive) gear, you can achieve excellent results in your own DAW with the right tools and approach. The signal chain is typically much cleaner and more precise than in mixing.
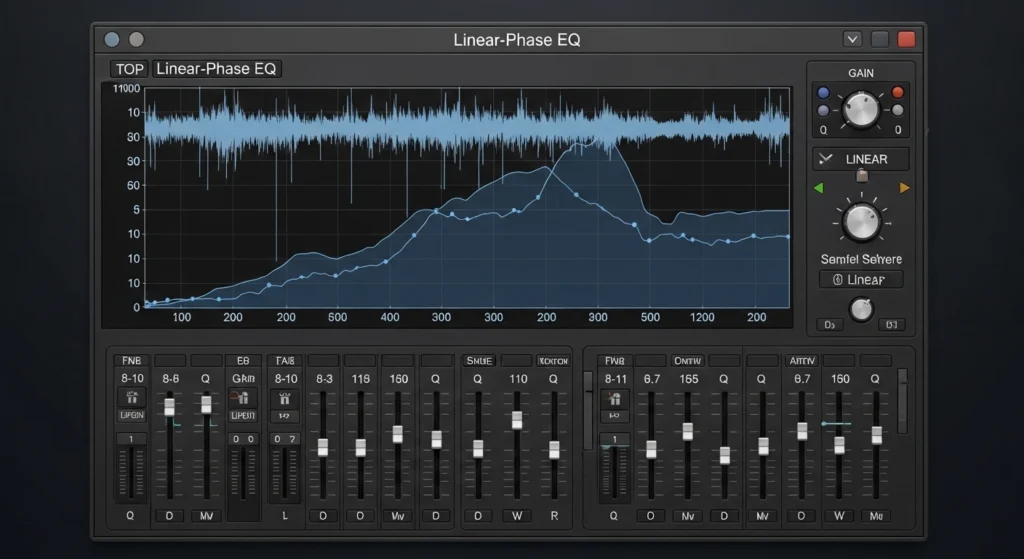
The Mastering Signal Chain
A typical mastering chain looks like this:
- Corrective EQ: A precise, often linear-phase EQ to make broad, gentle adjustments. Tame a little harshness around 5kHz? Boost the air around 12kHz? This is where it happens.
- Dynamic Control: A very clean compressor or a multiband compressor to gently control the dynamics of specific frequency ranges if needed.
- Limiting: This is the final and most critical step. Your limiter is what raises the overall loudness of your track. The goal is to push it until it’s competitive, but stop before you hear distortion or pumping. Aim for 1-2dB of gain reduction on the loudest peaks.
9. Mixing and Mastering Guide: Preparing for Release
This is the final, technical step that is often misunderstood but critically important. When you export your 24-bit or 32-bit master to a 16-bit file for CD or streaming, you need to use dither.
What is Dither?
Dither is a tiny amount of low-level noise that is added during the bit-depth reduction process. Counter-intuitively, this noise actually preserves the musical detail and prevents a type of distortion called “quantization distortion.” Without dither, quiet parts of your song can sound grainy or distorted. Always enable dithering in your export settings when going from a higher bit-depth to a lower one (e.g., 32-bit float to 16-bit). Your limiter or export window will have an option for it.
10. Mixing and Mastering Guide: A/B Test
After you’ve finished your master, you’re done. But before you upload, you must perform the ultimate test. Listen to your track everywhere.
Mixing and Mastering Guide: The Car Test
The car is the best second opinion you can get. It’s a small, imperfect, and noisy environment, but it’s where many people listen to music. Burn your mastered track to a CD or put it on your phone. Listen to it in your car. How does the bass feel? Can you hear the vocal clearly? Does the snare cut through the road noise? If it sounds good in the car, it will sound good almost anywhere.
Mixing and Mastering Guide: Listen on Multiple Systems
Test it on your laptop speakers, on your phone, on Bluetooth speakers, and on a friend’s hi-fi system. Does it translate well everywhere? If the bass disappears on small speakers, you might have relied too much on sub-bass. If it sounds harsh on laptop speakers, you might have too much high-end energy. Use this information to make final, tiny tweaks in your master.
Conclusion: Mixing and Mastering Guide
The path from a raw recording to a radio-ready record is a journey, but it’s not an impossible one. By following this mixing and mastering guide, you’ve armed yourself with a proven, 10-step roadmap. You understand that it’s not about expensive gear, but about a reliable listening environment, a clear workflow, and above all, trusting your ears. Start with a great level balance, use EQ to carve space, compression for control, and mastering for that final, competitive polish. Remember to reference, A/B test, and most importantly, be patient. These are skills developed over time, with every song you finish. Now, go apply these secrets to your next track and hear the difference for yourself. And when you’re ready to take the final leap, check out more explosive secrets to finishing your music.
Mixing and Mastering Guide: FAQ
What is the main difference between mixing and mastering?
Mixing is the process of taking all the individual tracks (vocals, drums, synths, etc.) and balancing them, using EQ, compression, and effects to create a cohesive and compelling stereo mixdown. Mastering is the final step of polishing that single stereo mixdown, preparing it for distribution by optimizing its overall tonal balance, loudness, and translation across all playback systems.
Do I need expensive gear to mix and master?
No. While high-end studios have their advantages, countless hit records have been mixed on laptop speakers and headphones. The most important tools are your ears and your knowledge. A treated room and decent monitors are a huge help, but a beginner can achieve excellent results with stock plugins and a good pair of studio headphones if they learn the fundamentals.
Why does my mix sound good in my studio but terrible everywhere else?
This is the classic “translation” problem, and it’s almost always due to your listening environment. If your room has acoustic issues (like bass buildup or reflective surfaces), you are making mixing decisions to compensate for problems that don’t exist in the recording. You’re mixing the room, not the song. Treating your room and using reference tracks are the solutions.
How loud should my master be?
There’s no single correct answer, as it depends on the genre. However, with the advent of streaming services using loudness normalization (like Spotify normalizing to -14 LUFS), pushing for maximum loudness is less important. Focus on making your master sound clear, punchy, and undistorted. A competitive loudness level is typically between -9 and -12 LUFS (integrated) for most modern genres.
What is a “mix bus” and why is it important?
The mix bus (or stereo bus) is the single channel in your DAW that all your individual tracks are routed to. It’s the master fader. Processing applied here (like light compression or EQ) affects the entire mix at once, which can help “glue” the different elements together and give the song a cohesive, finished feel.
Can I mix and master a song on the same day?
It’s possible, but not recommended. Your ears need a break to maintain objectivity. After listening to a loop for hours, you become “deaf” to its problems. If you can, finish your mix, take a break for a day, and then master it with fresh ears. This will help you catch mistakes you would have otherwise missed.
What is the most common mistake beginners make in mastering?
The most common mistake is over-compressing and over-limiting to make the track “loud.” This results in a distorted, lifeless, and pumping sound that is unpleasant to listen to. In the era of streaming normalization, a clean, dynamic master is often more effective than a squashed, ultra-loud one.