
Why a Clean Mix Matters
- Every element sits perfectly in the mix without clashing
- The vocals cut through clearly
- The low end is tight and punchy
- The stereo field is wide and immersive
A muddy or cluttered mix can ruin even the best-produced song, so mastering these mixing fundamentals is crucial for any music producer.
1. Gain Staging: The Foundation of a Clean Mix
Gain staging is one of the most overlooked yet critical aspects of mixing. Proper gain staging ensures that each track in your session is at an optimal level before processing.
How to Set Proper Gain Levels
- Start by setting your faders at unity (0 dB)
- Adjust the input gain so that each track peaks around -18dB to -12dB
- Avoid clipping at all costs—leave headroom for mastering
Pro Tip: Use a VU meter plugin to monitor average levels rather than peak levels for a more balanced mix.
2. EQ: Carving Out Space for Each Element
EQ mixing techniques are essential for cleaning up frequencies and preventing clashes.
Key EQ Tips for a Clean Mix
- High-pass filter unnecessary low-end rumble from non-bass instruments (e.g., vocals, guitars, synths)
- Cut before boosting – Remove problematic frequencies before adding enhancements
- Use subtractive EQ to eliminate mud (usually in the 200-500Hz range)
- Boost carefully – Wide boosts for warmth, narrow boosts for presence
Common Frequency Trouble Spots:
- Mud: 200-500Hz
- Boxiness: 300-600Hz
- Harshness: 2-5kHz

3. Compression: Controlling Dynamics for Clarity
Compression in mixing helps balance dynamics and glue elements together.
How to Use Compression Effectively
- Use a low ratio (2:1 to 4:1) for gentle leveling
- Fast attack for transients (drums), slow attack for sustain (vocals, bass)
- Adjust release time to match the groove of the track
- Parallel compression can add punch without squashing dynamics
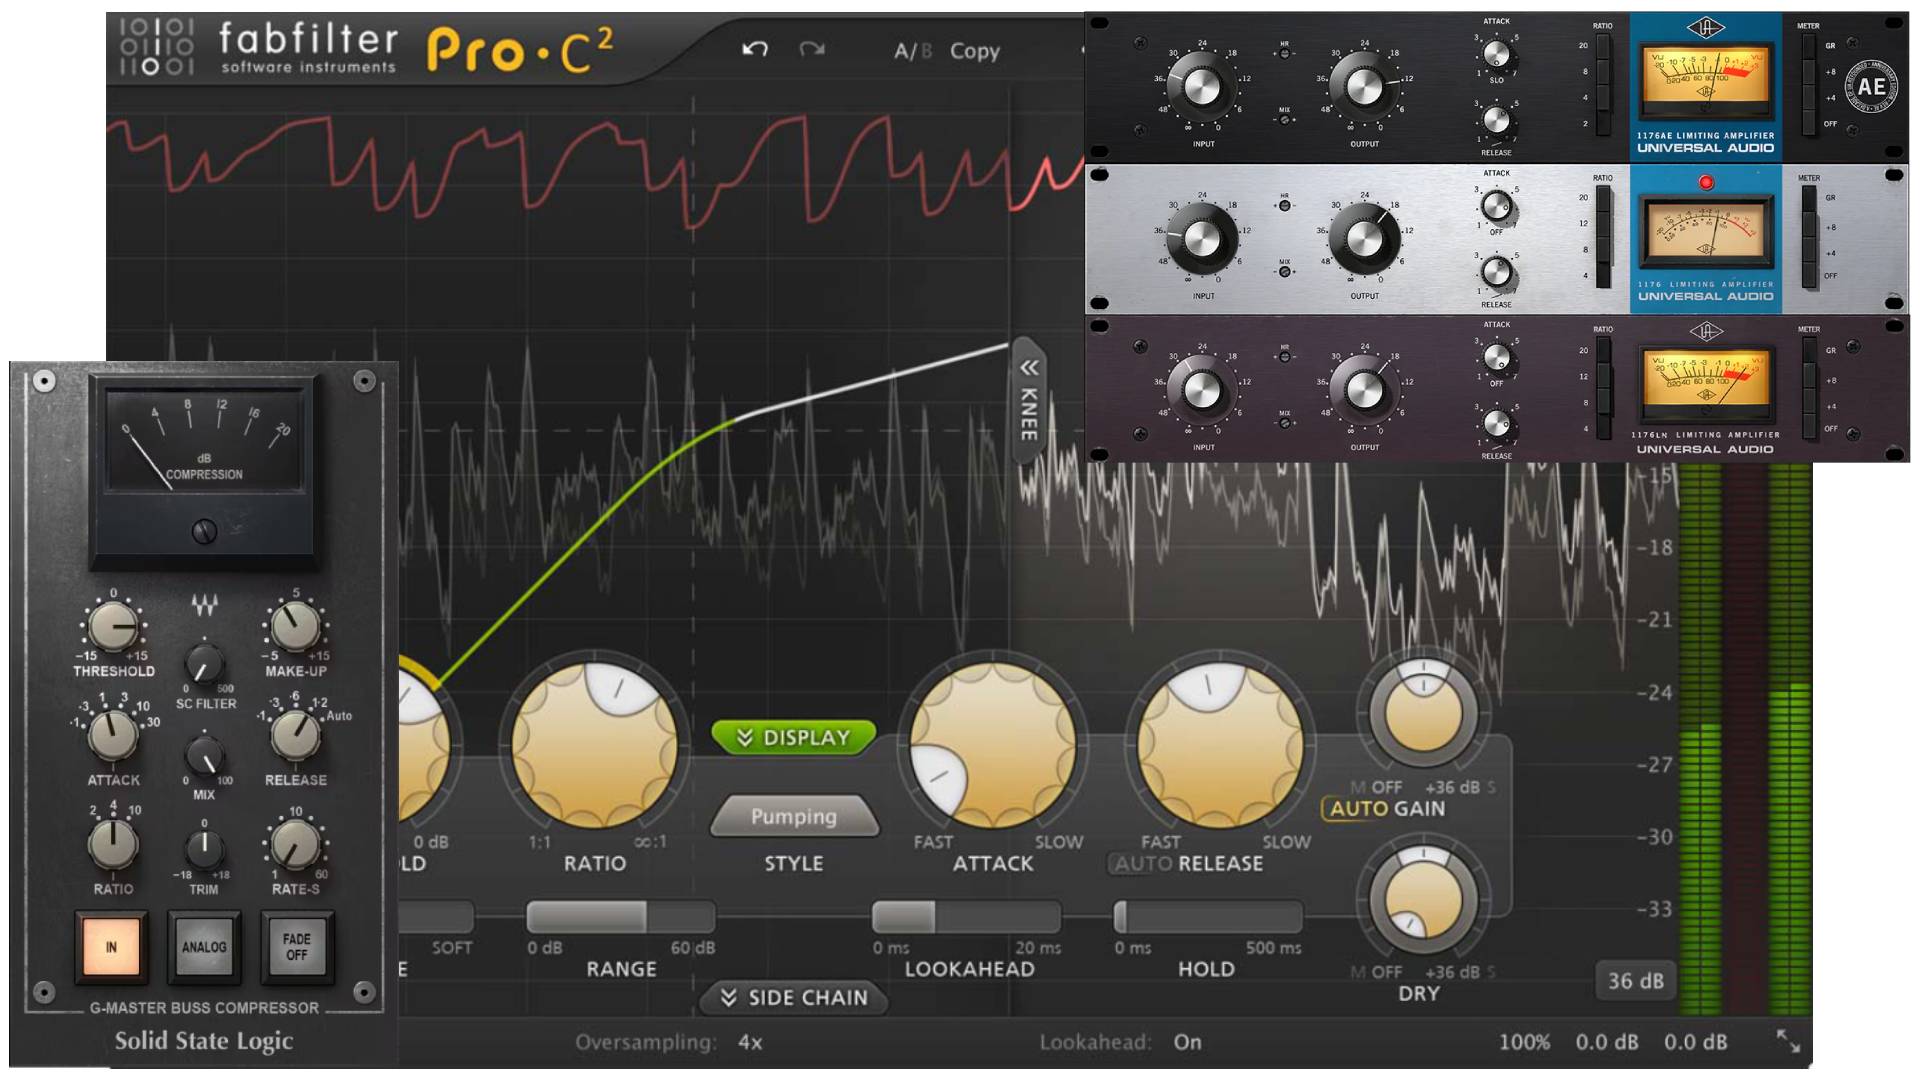
Best Compressor Plugins for Clean Mixes:
- FabFilter Pro-C 2
- Waves SSL G-Master Buss Compressor
- UAD 1176
4. Reverb & Spatial Effects: Creating Depth Without Mud
Reverb adds space and dimension, but too much can make your mix sound washed out.
Reverb Tips for a Clean Mix
- Use short reverbs on drums for punch and clarity
- Apply plate or hall reverbs on vocals for space without losing presence
- Roll off low frequencies in your reverb with EQ to prevent muddiness
- Automate reverb levels for more dynamic, engaging mixes
5. Stereo Imaging: Widen Your Mix the Right Way
A clean mix doesn’t just sound clear—it feels immersive. Proper stereo imaging ensures your track sounds full across speakers and headphones.
Stereo Imaging Tricks
- Pan supporting instruments (guitars, synths, percussion) to create width
- Keep kick, bass, and lead vocals centered for balance
- Use stereo wideners sparingly to avoid phase issues
- Check your mix in mono compatibility to ensure it translates everywhere
Tip: Download Our Mixing Presets Pack & Save your time: https://wtmhstudio.com/product/golden-mix-preset-pack-fl-studio/

Conclusion: The Power of a Clean Mix
A clean mix is what separates amateur productions from professional ones. By mastering gain staging, EQ, compression, reverb, and stereo imaging, you’ll ensure that your music translates well across streaming platforms, car speakers, and club systems.
If you want your beats, vocals, or full productions to stand out, focus on clarity first. Remember—listeners may not know the technical details, but they can hear the difference between a muddy track and a polished, professional mix.
Check out more of mixing Tips & Tutorials: https://www.youtube.com/@AOTBB_
FAQ – Mixing Tips for a Clean Sound
Q1: What is the most important step for achieving a clean mix?
A: Gain staging and proper leveling are the foundation. If your tracks are balanced in volume, everything else becomes easier.
Q2: Should I mix with headphones or studio monitors?
A: Both have their place. Studio monitors give a more natural sound, while headphones help you catch small details. Ideally, use both for cross-checking.
Q3: How much EQ should I use when mixing?
A: Use EQ to cut unnecessary frequencies rather than boosting too much. Subtle EQ moves often lead to cleaner results.
Q4: Do I need expensive plugins to get a professional sound?
A: No. Stock plugins in DAWs are powerful enough if used correctly. Expensive plugins add convenience, not magic.
Q5: How do I prevent muddiness in my mix?
A: Cut low frequencies (below 100Hz) on non-bass instruments, avoid overlapping sounds, and use reference tracks to guide your balance.