
MIDI Kits
Every music producer, from bedroom beatmaker to seasoned sound engineer, has faced the moment: you have a great idea for a track, but your fingers can’t quite play the melody you hear in your head, or your drum programming feels stiff and robotic. This friction between inspiration and execution is the death of many great tracks.
The solution isn’t necessarily more practice, but smarter workflow. The single most powerful tool for breaking through these barriers and achieving instant, professional results is the strategic use of MIDI Kits.
MIDI Kits are specialized collections of pre-programmed rhythmic and melodic MIDI patterns—they contain the musical instructions (pitch, timing, velocity) for your instruments, not the sound itself. They are the ultimate shortcut, allowing you to bypass tedious programming and jump straight into arranging, mixing, and sound design.
Here’s a deep dive into why pro producers rely on these tools, and the 7 strategic ways you can use them to dramatically elevate your sound and find instant music inspiration.
1. The Workflow Advantage: Why Pro Producers Use MIDI Kits
If you’re looking for a boost in your music production workflow, MIDI Kits provide three undeniable advantages that even those with strong music theory backgrounds use constantly. Understanding the standard and history of MIDI (Source: Production/Industry Magazine) explains why it is the most robust tool in music production.
The “Music Theory Shortcut”
The biggest value of a high-quality MIDI Kits is access to complex musical concepts without having to manually program them. They offer professional-grade:
- Chord Progressions: Instantly load unique chord voicings and inversions (Source: Music Education Resource) common in specific genres (e.g., Jazzy Hip-Hop, Melodic Techno, Gospel Chords). This is your key to unlocking advanced music theory concepts effortlessly.
- Rhythmic Fills and Grooves: Bypass the tedious process of drawing in intricate ghost notes, flams, and complex hi-hat patterns. MIDI patterns give you an instant, humanized groove.
Speed and Efficiency: Finishing Tracks Faster
Time is the most valuable commodity in the studio. When you use pre-made MIDI patterns, you eliminate the time spent laboriously drawing notes into the piano roll or trying to quantize a poorly played take. You can audition dozens of high-quality loops in seconds, find one that fits the mood, and immediately move on to the more creative tasks of sound design and mixing.
2. 7 Strategic Ways to Use MIDI Kits for Instant Elevation
Don’t just drag and drop and call it a day. The power of MIDI Kits comes from using them as a starting point—a clay you can shape—not a final product.
Method 1: Instant Chord Progression Blueprint
The core struggle in starting a track is often the melodic foundation. Use a MIDI Kit to instantly load a four-bar chord progression into your track.
The Elevation Strategy:
- Load: Drop the MIDI chord progression onto a simple piano VST.
- Edit the Top Line: Once the progression is loaded, delete all the notes except the top note of each chord. This gives you an instant, perfectly harmonizing melody guide.
- Transpose: Copy that top line and move it to a different instrument (like a lead synth or plucked instrument) to instantly create a counter-melody that guarantees harmonic compatibility.
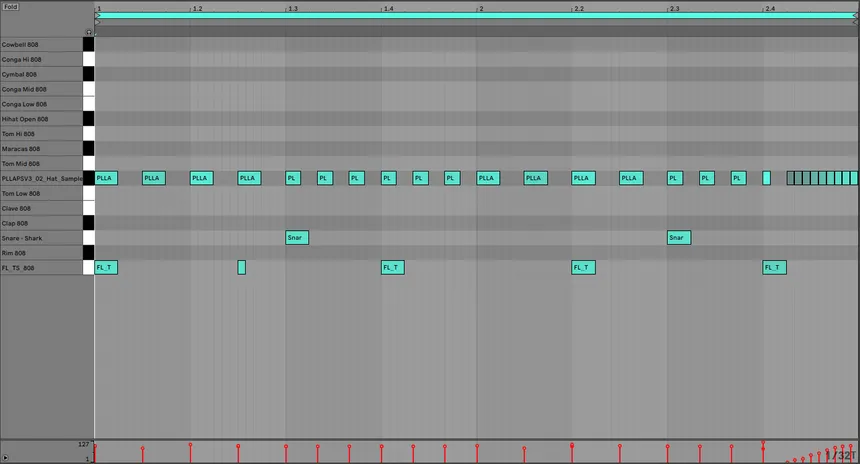
Method 2: Unlocking Advanced Drum Programming
Professional drum grooves often involve subtle ghost notes and micro-timing shifts that are difficult to program by hand. MIDI Kits specializing in drums provide these nuanced MIDI patterns instantly.
The Elevation Strategy:
- Separate the Core: Isolate the kick and main snare patterns from the MIDI file and keep those.
- Replace the Detail: Delete the hi-hats and percussion from the MIDI, and then program your own unique hi-hat pattern over the professional foundation. This allows you to use professional groove and pocket while retaining your personal rhythmic flair, which is vital for sophisticated drum programming techniques.
Method 3: Layering and Texture Creation
MIDI patterns are excellent for creating background textures that fill out the mix without clashing with the main instruments.
The Elevation Strategy:
- Choose a Non-Obtrusive Kit: Pick a MIDI pattern designed for percussion or short-staccato instruments.
- Assign a Texture: Load the pattern onto a very soft, ambient pad, a bell, or a VST using granular synthesis techniques (Source: Audio Engineering Blog).
- Process: Lower the volume, pan it wide, and drench it in huge reverb. The original pattern is now a subtle, rhythmic texture that adds depth to your track, built on a professionally programmed rhythm you didn’t have to design.
Method 4: Genre Flipping and Sound Design
One of the quickest ways to gain music inspiration is to take a rhythmic or melodic idea from one genre and apply it to a completely different sound palette.
The Elevation Strategy:
- Select a Foreign Kit: Grab a MIDI file from a genre you don’t produce (e.g., use a Trap MIDI pattern for a House track, or a Jazz progression for a Dubstep tune).
- Load the Opposite Sound: Load that foreign MIDI pattern onto your preferred instrument (e.g., loading a Hip-Hop drum pattern onto a highly compressed, gated synth).
- Flip It: This creative tension forces you into unexpected sonic territory, immediately generating unique ideas that would never have occurred if you had stayed within your genre’s conventions.
Method 5: The Velocity and Grooves Shortcut
Velocity—how hard a note is hit—is crucial for making a sequence sound human. Professional MIDI patterns are often recorded or programmed with nuanced velocity changes that create a subtle, natural swing.
The Elevation Strategy:
- Apply to Everything: Load the velocity profile from a complex drum loop (often included as a standalone MIDI file) and apply it to a rigid, quantized synth melody or bassline.
- The Result: The synth part instantly gains a “shuffly” or “pushed” feel, improving the groove of the entire track without touching a single note.
Method 6: Building Complex Basslines from Melodies
If you are struggling to write a bassline that complements your main melody, a MIDI Kit can provide the perfect solution.
The Elevation Strategy:
- Extract the Root: Load a full chord progression MIDI file.
- Simplify: Delete every note except the lowest note of each chord (the root note).
- Refine: This root note sequence is your harmonically correct starting bassline. You can then copy it onto your bass VST and easily edit the rhythm (making it shorter, longer, or adding slides) while guaranteeing that the pitch is perfectly in key.
Method 7: Overcoming Producer Block and Writer’s Anxiety
Creative block often comes from staring at an empty DAW. MIDI Kits solve this by giving you a professional-quality framework to react to.
The Elevation Strategy:
- Start With the Block: The moment you feel stuck, drag a random MIDI pattern into your project. Don’t worry about the sound or the key yet.
- Focus on the Flaw: Now, your task is to identify what you dislike about the pattern. Is it too fast? Too low? Too repetitive?
- The New Task: Your new task is not to create but to fix. By editing and transposing a pre-existing idea, you bypass the psychological hurdle of starting from scratch and instead engage the analytical, problem-solving part of your brain, which is the key to overcoming creative block in production.
3. The Technical Deep Dive: Adapting MIDI Patterns
The final step is customization. No professional track uses a MIDI pattern straight out of the box.
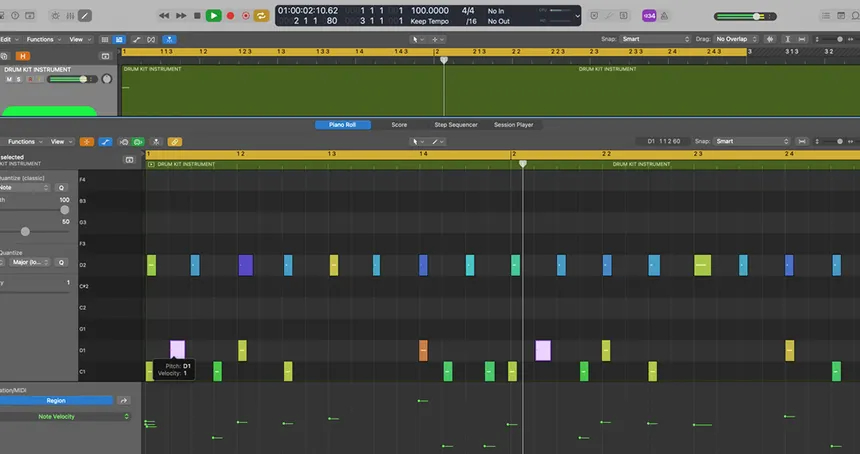
Transposition and Key Changes
The simplest edit is changing the key. If a MIDI pattern is in C minor and your song is in D minor, select all the notes in the piano roll and shift them up two semitones. Most modern DAWs allow you to click and drag the entire block to transpose it instantly.
Editing the Grid: Quantization and Swing
Once a MIDI file is loaded, you have total control over its timing.
- Humanization: While MIDI Kits are often humanized, you can add more swing by applying a subtle groove template to the notes (e.g., 55% or 60% swing).
- The Power of One: Move one note slightly off-grid. This is called micro-timing. By simply pushing one or two notes forward or backward by a few milliseconds, you can create a unique pocket that defines your sound.
MIDI Kits and VST Compatibility
The beauty of MIDI Kits is its universal compatibility. It is just data. You can drag a drum MIDI pattern onto a guitar VST, or a chord progression onto a kick drum channel. Every kit is instantly compatible with every single VST instrument you own because of the VST instrument protocol (Source: Software Vendor/DAW Developer). Make sure you know your DAW workflow guide so you can quickly manage these files.
4. Conclusion: Beyond the Patterns
MIDI Kits are not a replacement for talent or practice; they are a turbocharger for your creative process. They are powerful tools that provide professional frameworks, allowing you to instantly audition complex ideas and focus your energy on the unique elements—sound design, arrangement, and mixing—that truly make a track yours.
Start using these MIDI patterns today to break your habits, crush producer block, and finalize more music, faster.
5. FAQ: Mastering Your MIDI Kits
Q1: Are MIDI Kits cheating?
A: No. Using MIDI Kits is the same as a guitarist using a capo or a composer using sheet music. It’s a tool for executing an idea faster. The skill lies in selecting the right pattern and adapting it to create a unique sound that defines your track.
Q2: What is the difference between a loop and a MIDI pattern?
A: A loop is an audio file (a recorded waveform) and is limited to a single key and tempo. A MIDI pattern is a data file (musical instructions) that is universally editable. You can change its key, tempo, instrument, and individual notes instantly.
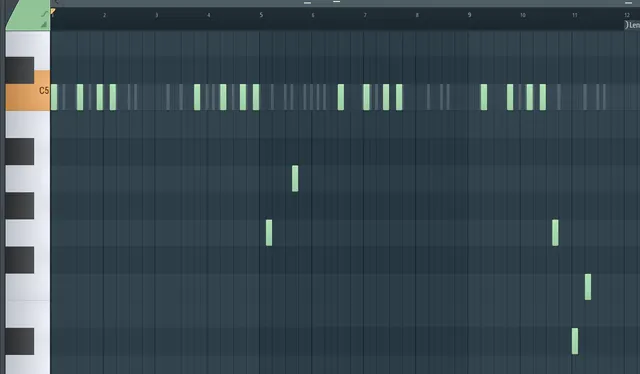
Q3: Where should I place MIDI files in my DAW?
A: Most producers create a dedicated “MIDI Library” folder on their hard drive. Many DAWs (like Ableton and FL Studio) allow you to add this folder to your internal browser, enabling you to quickly drag and drop the patterns directly into your project.